Install the app
How to install the app on iOS
Follow along with the video below to see how to install our site as a web app on your home screen.
Note: This feature may not be available in some browsers.
You are using an out of date browser. It may not display this or other websites correctly.
You should upgrade or use an alternative browser.
You should upgrade or use an alternative browser.
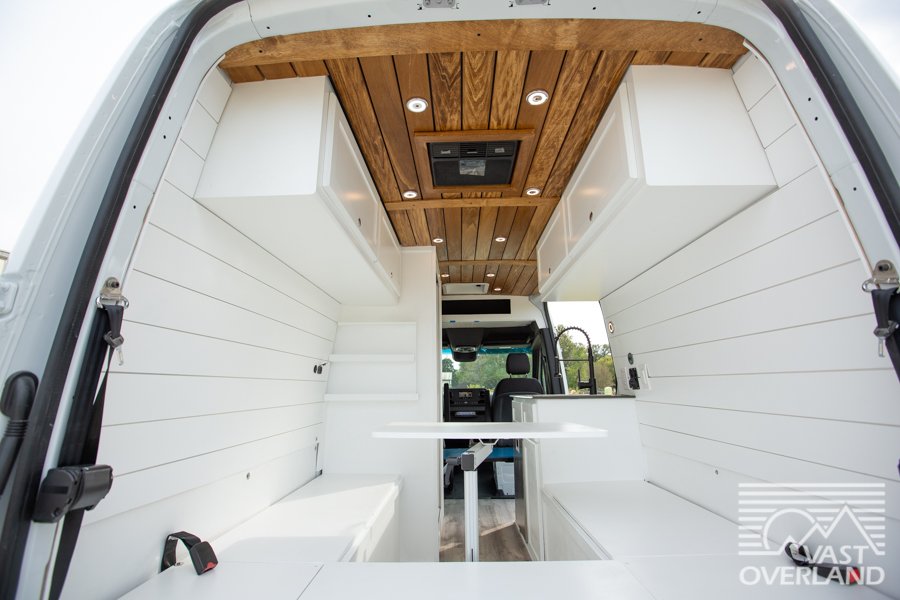
2020 144 Sprinter Build - Tiffany
- Thread starter Daniel
- Start date
Daniel
Staff Member
Next we added the minicell between the ridges of the van floor.

Next the 3M TAI insulation is added.

Finally the last layer of Minicell is added before reinstalling the factory floor. The finally floor fasteners will not be fully tightened until we put the flooring down.

Stock floor reinstalled, next we will move onto the window additions..

Next the 3M TAI insulation is added.
Finally the last layer of Minicell is added before reinstalling the factory floor. The finally floor fasteners will not be fully tightened until we put the flooring down.
Stock floor reinstalled, next we will move onto the window additions..
Daniel
Staff Member
For this build we are installing a T-vent style vent window. On stock Sprinter cargo vans without a window on the slider door there is a blind spot so this really helps when driving. A big factor when camping is having that bit of extra air flow by opening the vent on the window.


We start by cutting the area for the window and then trimming any areas that are not smooth.

The window simply clamps together and has a very thick gasket for a nice waterproof seal.


The vent also has a nice little screen to keep bugs out when opened.


We start by cutting the area for the window and then trimming any areas that are not smooth.
The window simply clamps together and has a very thick gasket for a nice waterproof seal.
The vent also has a nice little screen to keep bugs out when opened.
Daniel
Staff Member
Next we need to add the rooftop Maxx Air fan 7500 Deluxe and Nomadic 3000 AC unit. We prep to cut the hole for the fan to be located as far forward as possible on the van.

We then bond and lightly clamp the rooftop rib adapter in place.

Next we predrill the mounting holes and screw in the fan assembly before applying the 3M Scotch 4411 Extreme Sealing Tape for an extra seal.

No leaks is the goal always!

Fan looking good now so we can move onto the AC unit install.

We then bond and lightly clamp the rooftop rib adapter in place.
Next we predrill the mounting holes and screw in the fan assembly before applying the 3M Scotch 4411 Extreme Sealing Tape for an extra seal.
No leaks is the goal always!
Fan looking good now so we can move onto the AC unit install.
Daniel
Staff Member
Daniel
Staff Member
A few adjustments to get the fridge details worked out.

Aaron of ARHTX decides to put the induction cooktop flush mounted. He is always thinking above and beyond.


Aaron of ARHTX decides to put the induction cooktop flush mounted. He is always thinking above and beyond.